January 26, 2019 — kyle.huynh205
How to Password Protect a Folder in a Mac
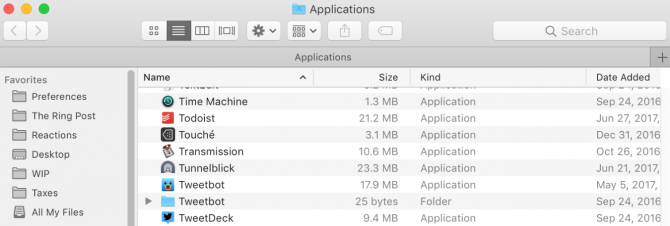
1.Open the Applications folder.
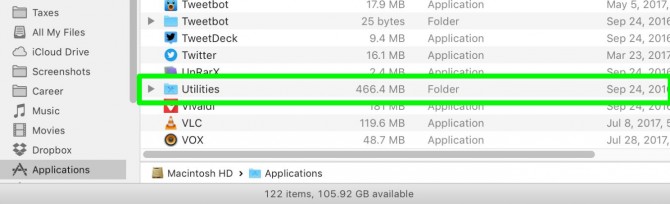
2. Open the Utilities folder within Applications. Open Disk Utility.
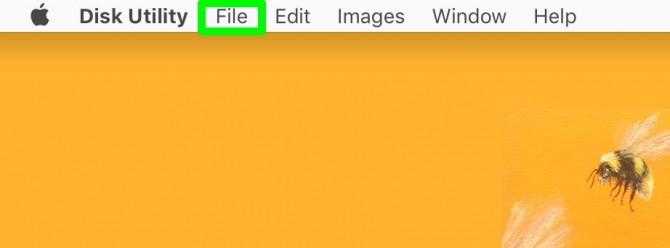
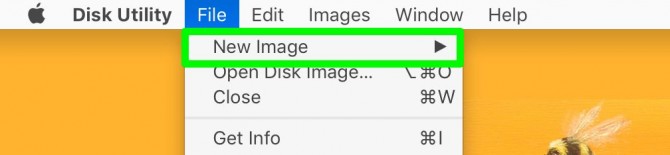
4. Click File.
5. Select New Image.
6. Select Image from Folder.

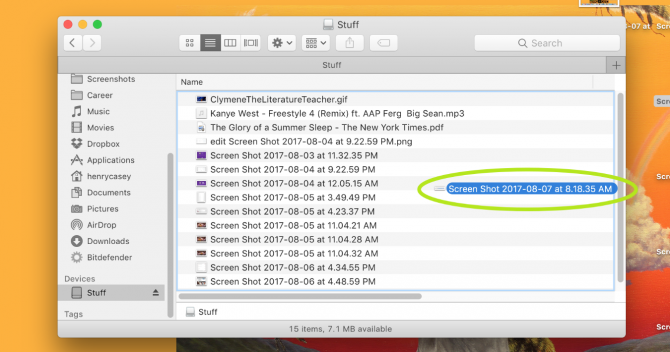
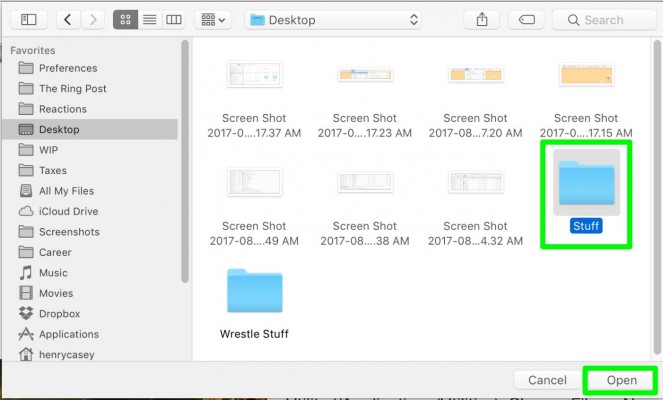
7. Select the folder you wish to protect and click Open.
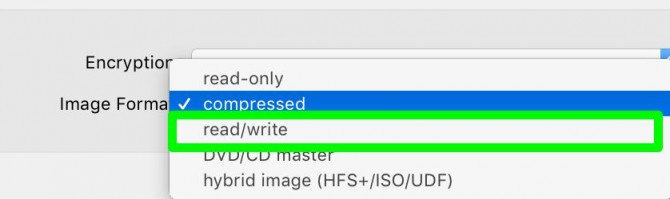
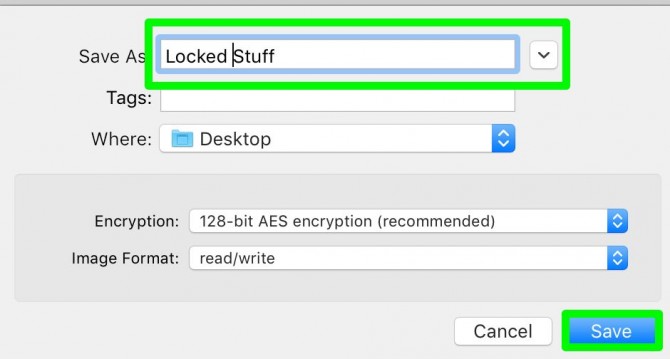
8. Click on the Image Format option menu and select read/write.
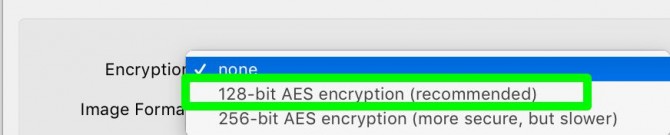
9. Click on the Encryption menu and click 128-bit AES encryption.
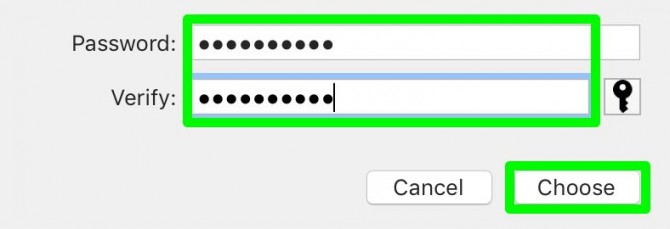
10. Enter the password for this folder twice, and click Choose.
11. Name the locked disk image and click Save.
12. Click Done.
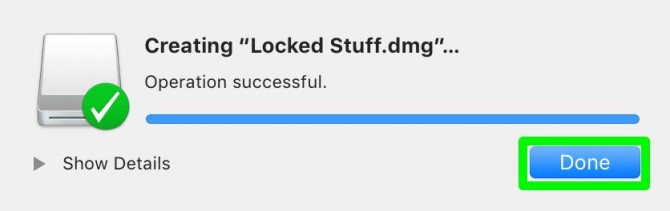
You’ve turned your folder into a locked disk image! You can delete the original folder now, if you’d like. Just don’t delete that .DMG file!

And just like a folder, you can add items to your password-protected disk image before ejecting it.